DOES BLUE TAPE REALLY MAKE A DIFFERENCE WHEN YOU’RE PAINTING?
Painting ranks among the most frequent DIY projects for homeowners. Whether it’s painting furniture, a room, woodwork and trim, or the whole house, proper prepping is requisite to doing a job well done. Every surface must be cleaned and prepared before it is painted. Blue painter’s tape helps you protect areas that you do not want to paint and helps create clean, crisp edges. It can help you achieve a flawless finish even if you’re a novice.
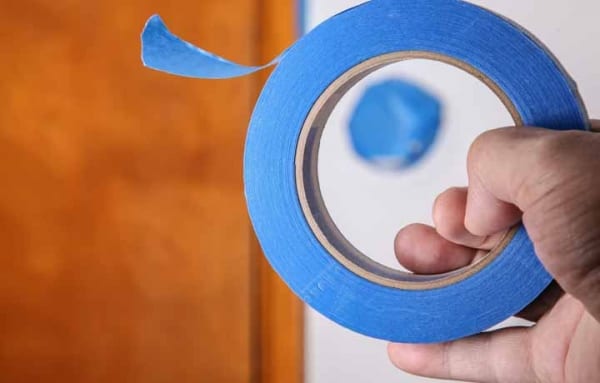
There are 5 things you should know when using blue painter’s tape:
1. When taping off a clean edge, use long strips of tape.
2. Overlap the pieces of tape by at least one inch to avoid points of seepage.
3. Burnish the tape by running your finger along the length of the tape to seal the edges.
4. Feather the paint in lightly over the edge of the tape and coat the paint thicker away from the tape.
5. Remove the tape after the second coat by pulling the tape downward at a 45 degree angle away from the paint so as to not pull any paint away from the wall.
Allow the tape to set 30 – 60 minutes before you begin painting. If the tape is not sticking, there is either dirt or moisture prohibiting it from adhering.
Create Patterns & Designs
You can create patterns and designs by masking them off with blue tape. When using stencils, blue tape can be used to fasten the template to the surface and easily removed to reposition the stencil in another location to continue the design. Using blue tape is also a time-saving measure because it dramatically limits the amount of touch up work necessary at the end of the job. Touch up work can be extremely tedious and time consuming. By using these techniques, you will achieve a professional quality paint finish.
Do you need help finding the right color to make your space appear bigger? Our experts can help. Texas Paint has been in business since 1947 and is an independent dealer of Benjamin Moore Paints and Finishes. Our trained specialists are available to assist you in selecting paint and supplies for your home or business. We also offer FREE 2 hour Pro Delivery Service. Find out more: https://texaspaint.com/pro-delivery/
We have locations across the area in North Dallas, Downtown Dallas, Plano, Park Cities, Grapevine Mills, Fort Worth, Richland Hills, Arlington, Lewisville and Frisco for your convenience.


